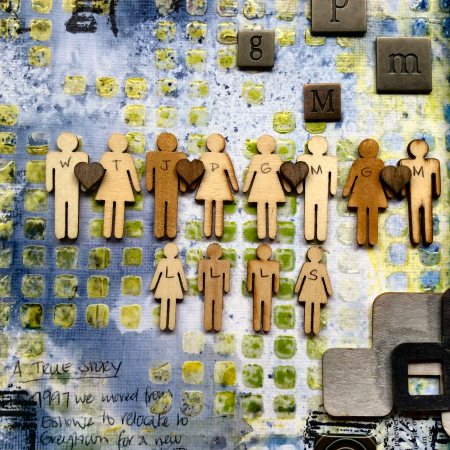
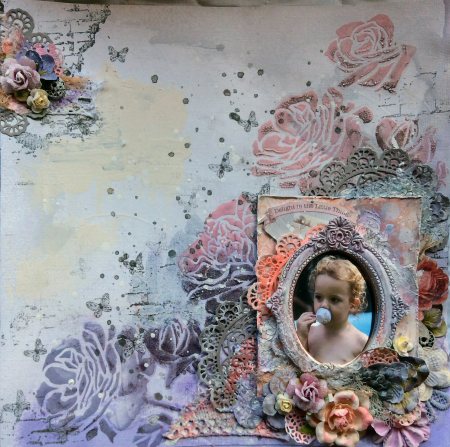
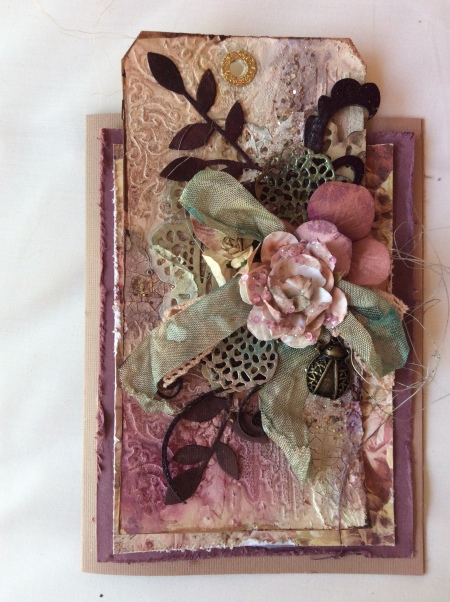
This is the cover of a guest book I made for a dear friend’s daughter. It was a labour of love and a treat for me to make this. My friend is a Wedding Planner and has done two of my children who are married, weddings. This is a small way to repay her for all the magical work she did for their weddings.
The inspiration came from the leftover fabric from the bridesmaids dresses, which were made also by my friend. The theme of the dresses were metallics, ranging from pale gold, gold, coppers to the darkest of silvers. I never know quite where I am going when I embark on a project, it kind of just evolves, however I knew that I wanted to make the album like the ones that Elena Morgun makes. I just love her work!
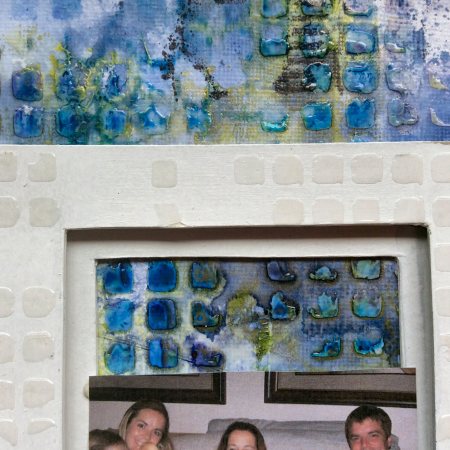
I decided to make a 8×8 album, and made a box for the album to fit into. I measured very well, but did not take into account the bulk of the fabric cover and batting, so the book fits VERY snuggly into the box.
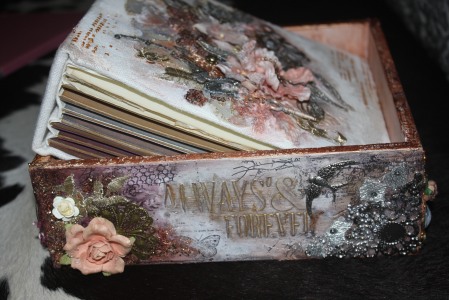
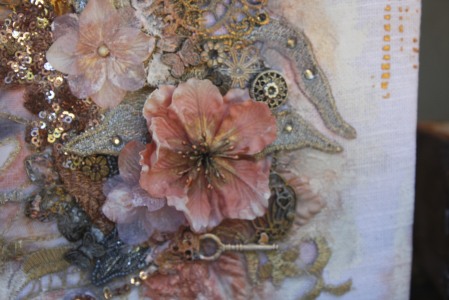
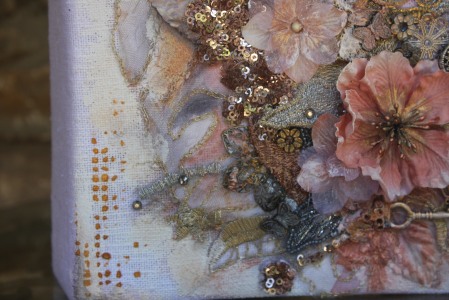
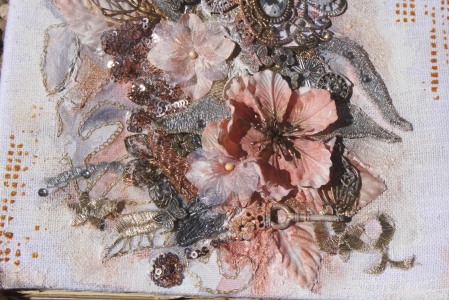
The box is beautiful, I love how it turned out, each of the 8 corners are decorated differently, and again the fabrics from the bridesmaids dresses have been used.
I started by gessoeing the whole box giving it two coats. Then I stuck a few die cuts around the box with gel medium. After that another coat of gesso, and then I applied the words with Texture Paste, stamped images and started to build the corner designs with colour. I used mostly Lindy’s Stamp Gang and Prima sprays, if you would like to know the colours let me know.
Here are the four sides of the box.
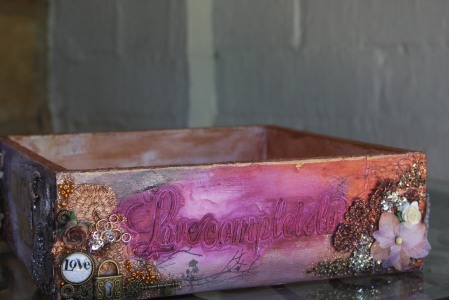
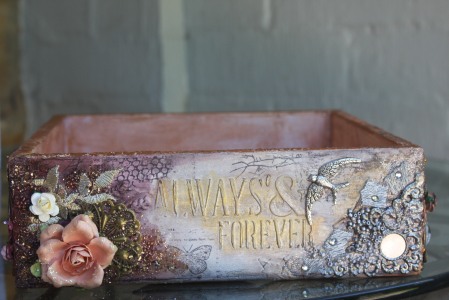
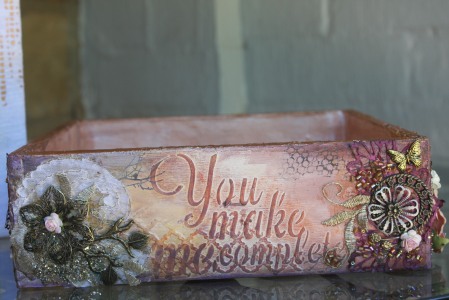
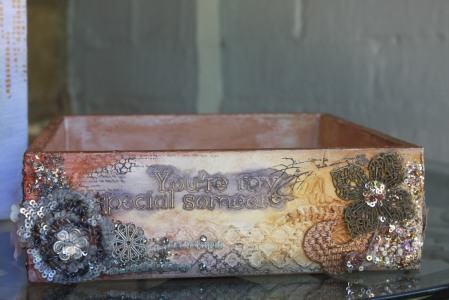
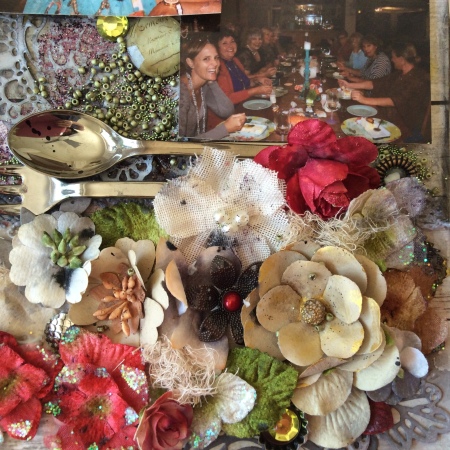
I used chunky glitters from Finnabair/Prima, beads and other glitters from my stash.
On embarking on this project, I told myself that I had to use my best stuff, you know how us scrappers are always saving stuff for that special project? Well this was the special project!
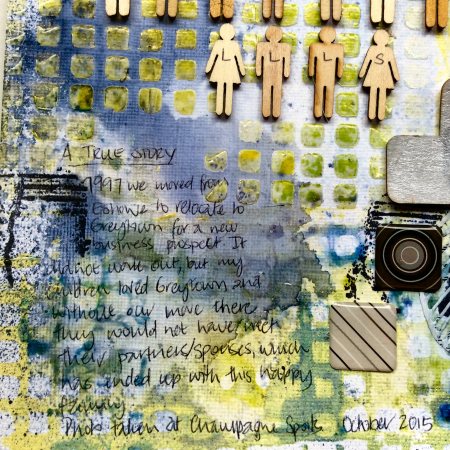
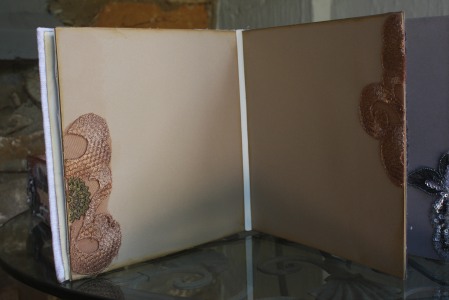
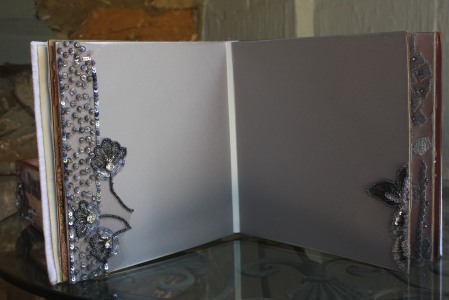
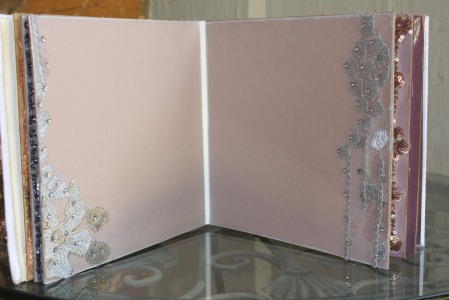
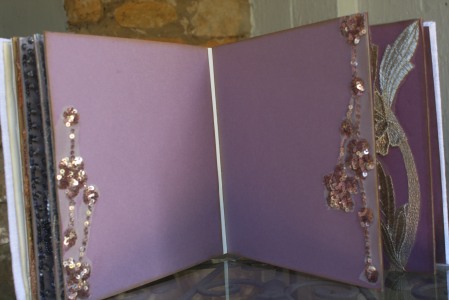
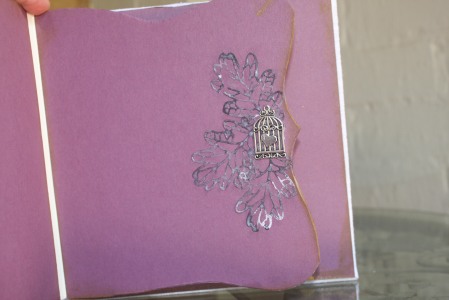
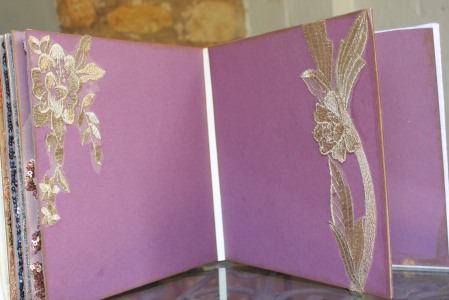
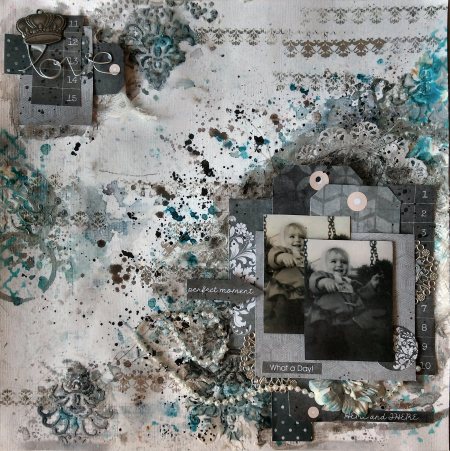
Here are the inside pages of the album
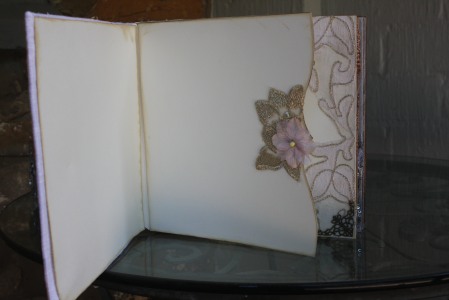
First Page
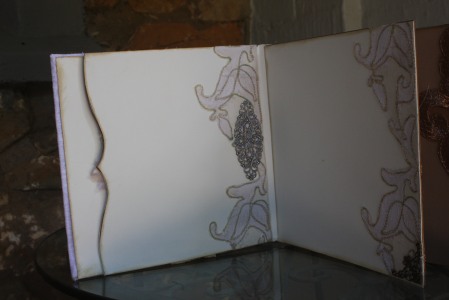
Second Page
Third Page
Fourth Page
Fifth Page
Sixth
Seventh
Eighth
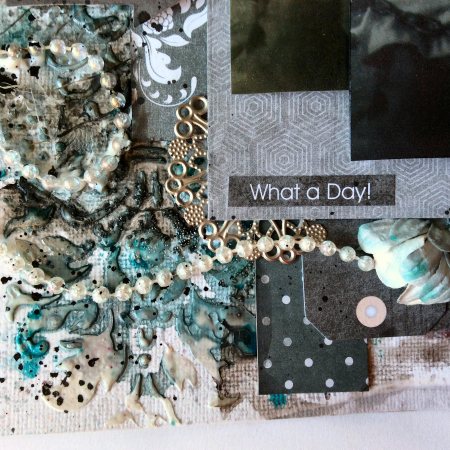
The fabrics were glued down with gel medium matte, oh how I love that stuff! Its been around for yonks, but I have only discovered it in the past say 2/3 years. It has changed my life! Yes very dramatic, but you know, so true!
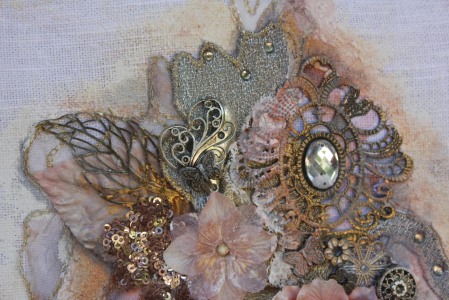
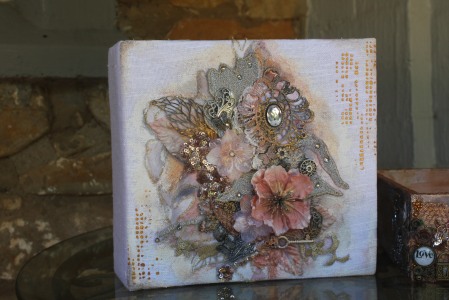
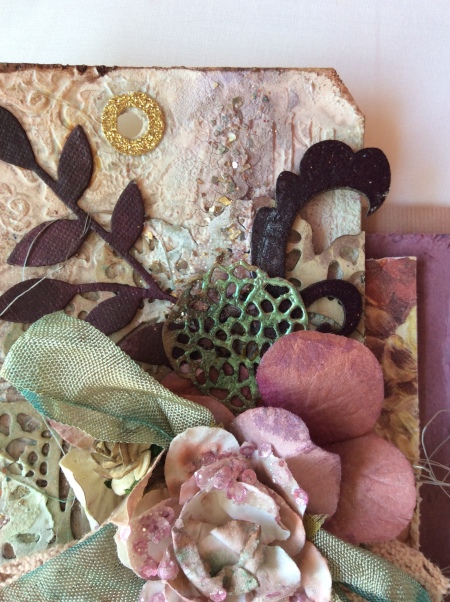
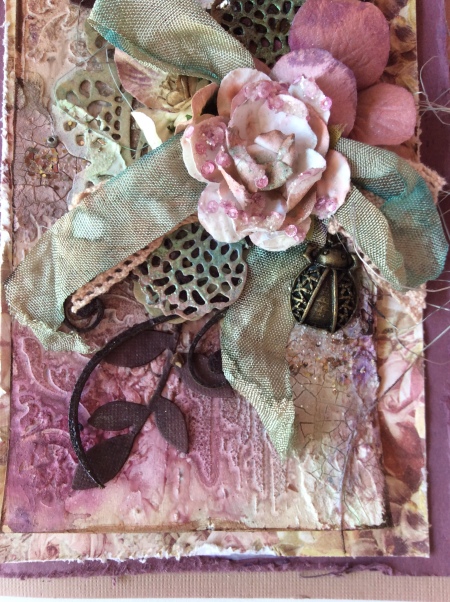
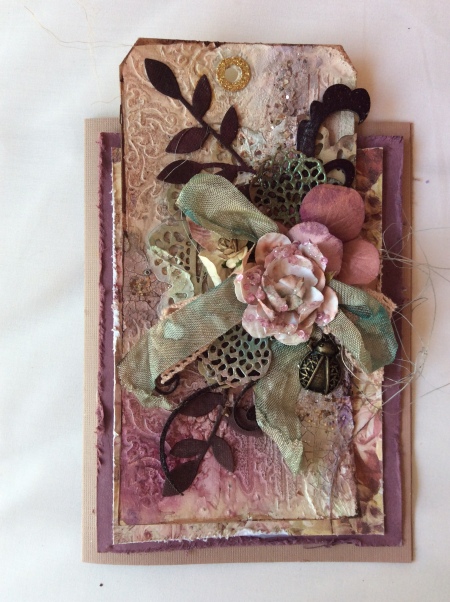
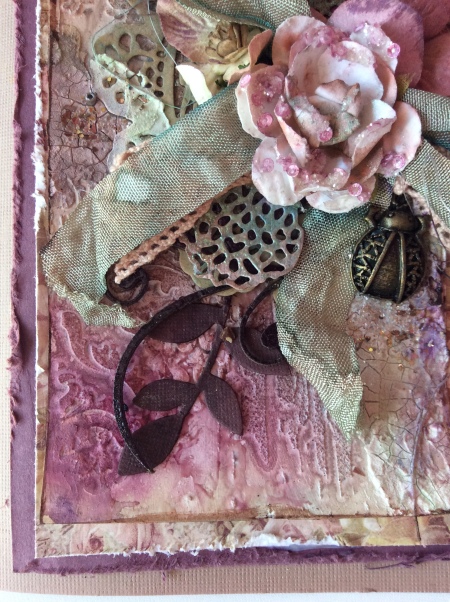
Front cover centre
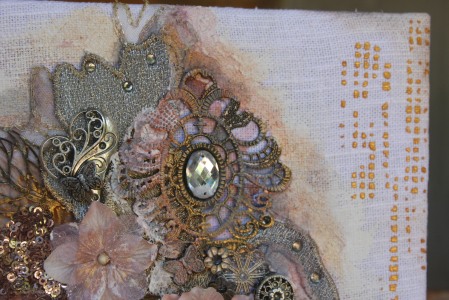
Front cover right hand side
Front cover right hand bottom
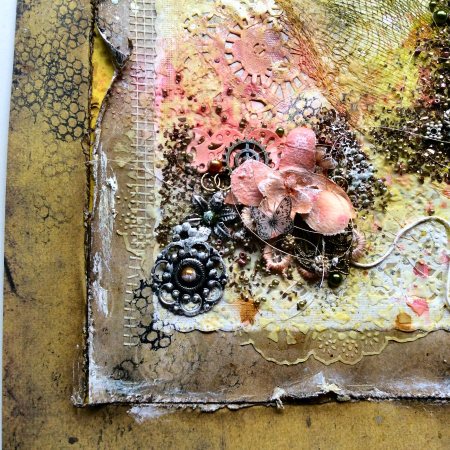
Front cover left hand bottom
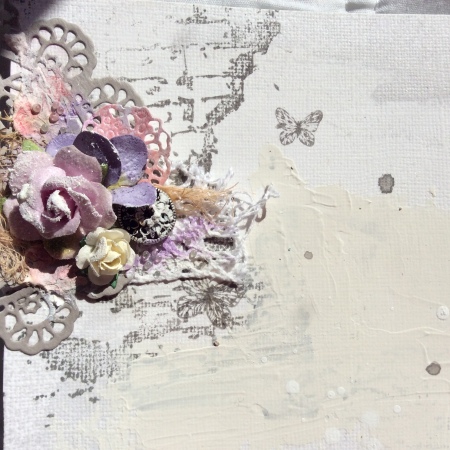
Front cover centre taken in the sun to show the glitz!
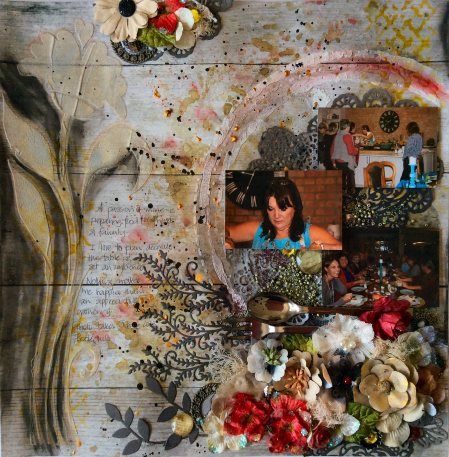
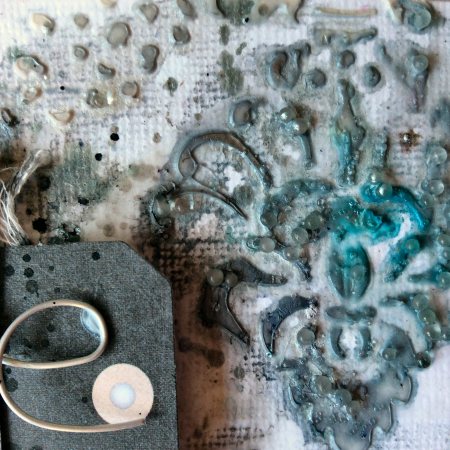
The cover was lightly gessoed, mists, micas and crackle paste were also used. A lot of my trinkets are from Flying Unicorn who are by far my most favorite USA store to buy from. I like buying from them because they have a lot of brands that are not that common elsewhere. The free shipping over a certain amount also helps 😉 Thanks Alda.
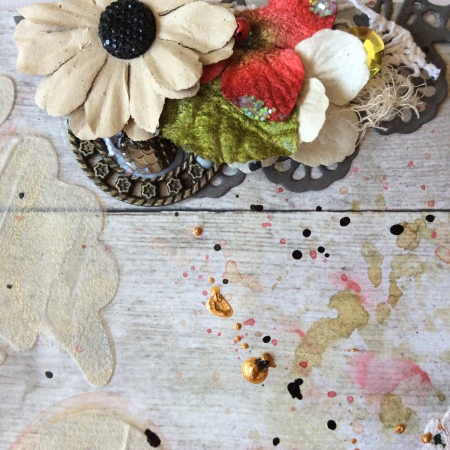
The flowers are from Prima, the black stamens were a bit stark, so they were dusted with Gold Mica from Finnabair/Prima. The stencil is from The Crafters Workshop and the gold paste is Wendy Vecchi gold paste.
As you can no doubt see the fabrics were such a wonderful springboard for my project. Its not every day you get to work with such beautiful luxurious fabrics.
Hope you have enjoyed my post, as you can no doubt see, I am still very new to blogging, slap on my hand, I need to post more often! Please leave some comments so that you can help to inspire me to blog more often.


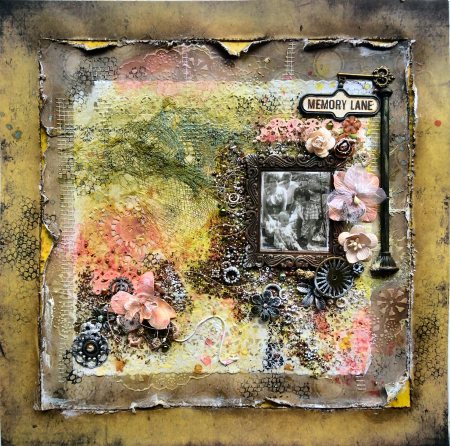
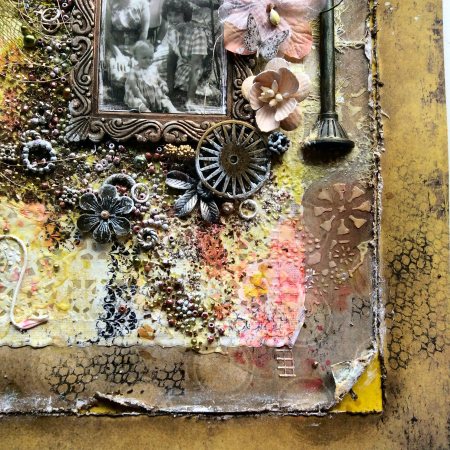
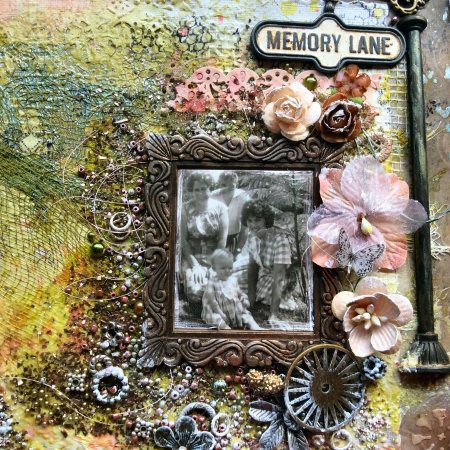
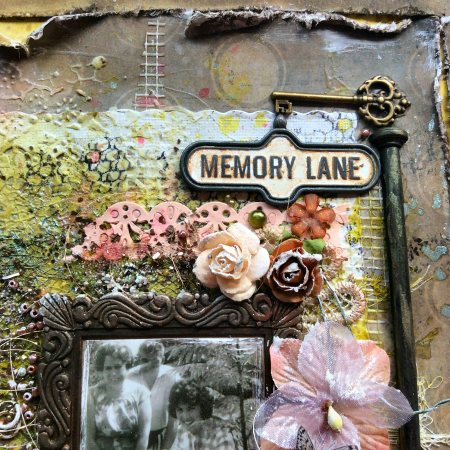 I thought I was quite clever here when I used a key as the sign holder for the lamppost. 😉